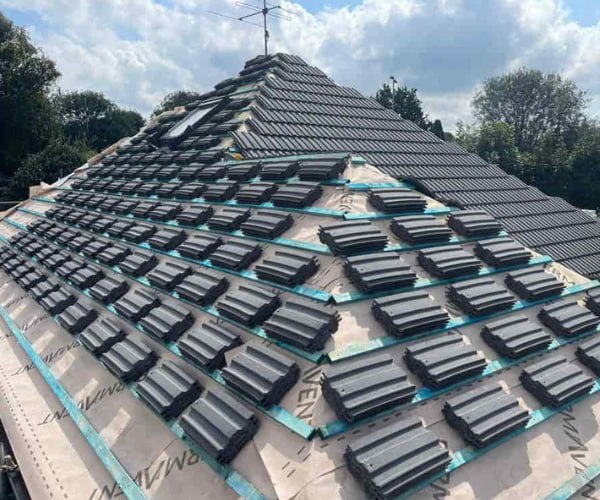
Repairing Lead Flashing Around Skylights: A Guide to Ensuring a Leak-Free Roof
Introduction: Skylights are a fantastic addition to any home, bringing in natural light and enhancing the aesthetic appeal of your living space. However, they can also be a potential source of roof leaks if not properly sealed and maintained. In this blog post, presented by NGF Roofing Brixworth, we’ll explore the essential steps to repairing lead flashing around skylights to ensure a leak-free roof and protect your home from water damage.
Understanding the Importance of Lead Flashing
Lead flashing is a weatherproofing material used to seal vulnerable areas of your roof, including skylights. Its flexibility, durability, and resistance to corrosion make it an ideal choice for preventing water infiltration. However, lead flashing can deteriorate over time, leading to leaks around skylights.
Signs of Lead Flashing Damage Around Skylights
Before we dive into the repair process, it’s essential to recognise the signs of damaged lead flashing around skylights:
- Water Stains: Look for water stains or discolouration on the interior ceiling near the skylight. These are often the first signs of a leak.
- Visible Damage: Inspect the lead flashing visually. Cracks, splits, or gaps in the flashing can allow water to infiltrate.
- Mould or Mildew: Excessive moisture can lead to mould and mildew growth near the skylight.
Repairing Lead Flashing Around Skylights
- Safety First: Before starting any repair, ensure safety. Use appropriate safety gear and work on a dry, non-slip surface.
- Clean the Area: Remove any debris or dirt around the skylight to ensure proper adhesion of the repair materials.
- Assess the Damage: Carefully inspect the lead flashing for damage. If you find any cracks or gaps, mark them for repair.
- Remove Damaged Sections: Cut away the damaged sections of lead flashing using tin snips. Ensure that the cuts are clean and straight.
- Prepare the Surface: Use a wire brush or sandpaper to clean the remaining lead flashing and the area around the skylight. This will help the new flashing adhere properly.
- Apply Sealant: Apply a generous amount of roofing sealant or adhesive to the cleaned surface. Ensure even coverage, especially over the damaged areas.
- Install New Flashing: Cut a piece of new lead flashing to match the size and shape of the damaged area. Press it firmly into the sealant, ensuring a watertight seal.
- Secure with Fasteners: Use roofing nails or screws to secure the new lead flashing. Be sure to place fasteners at regular intervals to prevent future movement.
- Seal the Edges: Apply an additional layer of roofing sealant around the edges of the new lead flashing to create a waterproof barrier.
- Inspect and Test: After the repair, carefully inspect the area to ensure a proper seal. Test for leaks by gently spraying water on the skylight and monitoring for any signs of water infiltration.
Conclusion: Repairing lead flashing around skylights is crucial in maintaining a leak-free roof and protecting your home from water damage. Regular inspection and prompt repairs are essential to ensuring that your skylights remain a source of natural light and not a source of headaches. If you’re unsure about the repair process or need assistance, don’t hesitate to contact NGF Roofing Brixworth. Our experienced roofing team can help you keep your skylights in top condition.
Call us on: 01604 279 696
Click here to find out more about NGF Roofing Brixworth
Click here to complete our contact form and see how we can help with your roofing needs.