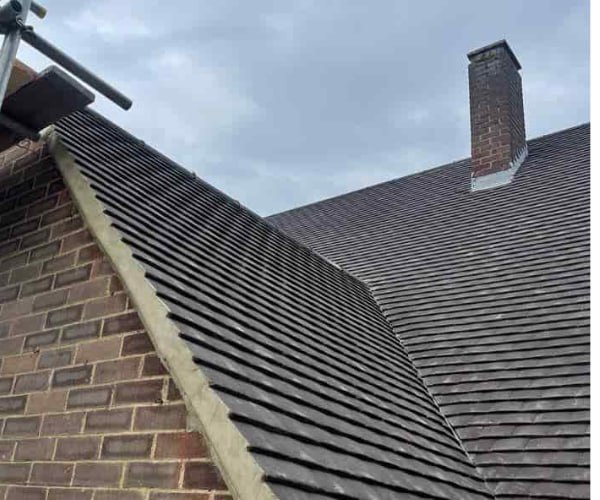
How to Identify and Replace Cracked Slate Roof Tiles
Introduction
Slate roofs are renowned for their durability, aesthetic appeal, and long lifespan. However, even the most robust materials can suffer wear and tear over time. Cracked or damaged slate tiles can compromise the integrity of your roof and lead to more extensive issues if not addressed promptly. For homeowners in Brixworth, Northamptonshire, knowing how to identify and replace cracked slate roof tiles can help protect your property and maintain its value.
Identifying Cracked Slate Roof Tiles
Visual Inspections
Regularly inspecting your roof for visible signs of damage is essential. Use binoculars to examine your roof from the ground or carefully climb a secure ladder to check for the following signs:
- Cracks or Chips: Look for tiles with visible fractures or missing sections.
- Discolouration: Damaged tiles may appear darker due to moisture absorption.
- Loose Tiles: Wind or weather can displace cracked tiles, leaving gaps.
Water Damage Inside the Property
Cracked tiles often allow water to penetrate your roof, resulting in leaks. Check for damp patches, water stains, or mould on ceilings and walls as these could indicate a problem with your slate roof.
Increased Energy Bills
A damaged slate roof can compromise insulation, causing fluctuations in indoor temperatures. Higher energy costs might point to underlying roofing issues, including cracked tiles.
Risks of Ignoring Cracked Slate Tiles
Neglecting damaged tiles can lead to significant problems, such as:
- Water Infiltration: Leading to rot, mould growth, and damage to structural components.
- Weakened Roof Structure: Compromising the overall stability of your roof.
- Escalating Repair Costs: Allowing minor issues to worsen over time.
Steps to Replace Cracked Slate Roof Tiles
Step 1: Gather the Right Tools and Materials
Before beginning any repairs, ensure you have the appropriate tools and materials:
- Replacement slate tiles
- Slate ripper or nail puller
- Roofing nails or copper straps
- Hammer
- Safety equipment
Step 2: Remove the Damaged Tile
Use a slate ripper to carefully extract the damaged tile and any remaining fasteners. Take care to avoid disturbing the surrounding tiles.
Step 3: Install the Replacement Tile
Position the new slate tile in place, ensuring it aligns with the surrounding tiles. Secure it using roofing nails or copper straps, taking care to maintain the roof’s watertight integrity.
Step 4: Seal and Inspect
Seal the edges of the replacement tile to prevent water infiltration and inspect the area to ensure the repair is seamless.
Why Professional Replacement is Essential
While DIY repairs may seem cost-effective, improper handling of slate tiles can cause further damage and compromise the roof’s structure. Engaging a professional roofing service ensures:
- Accurate identification of issues
- High-quality materials and techniques
- Safe and efficient installation
- Long-lasting results
Maintenance Tips for Slate Roofs
- Schedule regular professional inspections to catch damage early.
- Clear debris from your roof and gutters to prevent water pooling.
- Replace missing or cracked tiles promptly to avoid further issues.
Conclusion
Cracked slate roof tiles may seem like a minor issue, but they can lead to significant damage if not addressed. Regular inspections, timely replacements, and professional services can preserve your roof’s integrity and protect your property.
If you’ve noticed cracked tiles on your roof, contact WCT Roofing Brixworth for expert advice and reliable repair services. Our team in Brixworth, Northamptonshire, is equipped to ensure your slate roof remains in top condition for years to come.
Call us on: 01604 279 696
Click here to find out more about NGF Roofing Brixworth
Click here to complete our contact form and see how we can help with your roofing needs.

